**Optimist You:** “Get ready to transform your brows and boost your confidence!”
**Grumpy You:** “Yeah, if you can get through this without spilling coffee everywhere.”
## Introduction
Ever woken up, looked in the mirror, and thought, “If only my eyebrows were a bit more defined”? If you nodded even slightly, you’re not alone. The struggle for perfectly groomed and tinted brows is real, and it’s one that many of us face daily. But what if there was a solution that could make this process easier, more effective, and longer-lasting? Enter the brow enhancement kit.
In this post, we’ll dive deep into the world of eyebrow tinting kits, specifically focusing on how to choose the right one, use it effectively, and maintain that perfect brow look. You’ll learn about the importance of good eyebrow grooming, step-by-step instructions on using a brow enhancement kit, best practices for maintaining your brows, and even some real-world success stories to inspire you.
## Table of Contents
– [Choosing the Right Brow Enhancement Kit](#choosing-the-right-brow-enhancement-kit)
– [Problem/Background: Why Brows Matter](#problembackground-why-brows-matter)
– [Step-by-Step Guide: How to Use a Brow Enhancement Kit](#step-by-step-guide-how-to-use-a-brow-enhancement-kit)
– [Tips and Best Practices for Perfect Brows](#tips-and-best-practices-for-perfect-brows)
– [Real-World Examples and Success Stories](#real-world-examples-and-success-stories)
– [FAQs](#faqs)
## Key Takeaways
– **Why Brows Matter**: Understand the importance of well-groomed eyebrows.
– **Choosing the Right Kit**: Factors to consider when selecting a brow enhancement kit.
– **Step-by-Step Guide**: Detailed instructions on using the kit.
– **Best Practices**: Tips for maintaining your brows after tinting.
– **Success Stories**: Real examples of how others have transformed their brows.
## Section 1: Problem/Background – Why Brows Matter
Your eyebrows play a crucial role in defining your facial symmetry and overall appearance. A well-defined brow can frame your face, make your eyes stand out, and even give you a more youthful look. However, not everyone is blessed with naturally perfect eyebrows. Whether you have sparse brows, uneven arches, or just want a bolder look, a brow enhancement kit can be a game-changer.
**Confessional Fail:**
I once over-tinted my brows and ended up looking like Bert from Sesame Street. Needless to say, it was a week of avoiding mirrors and wearing hats.
## Section 2: Step-by-Step Guide – How to Use a Brow Enhancement Kit
### Step 1: Choose the Right Shade
**Optimist You:** “Pick a shade that complements your natural hair color.”
**Grumpy You:** “Or, you know, just guess and hope for the best.”
– **Fair Skin and Light Hair**: Choose a light to medium brown.
– **Olive Skin and Dark Hair**: Opt for dark brown or black.
– **Redheads and Strawberry Blondes**: Go for a soft, natural-looking auburn.
### Step 2: Clean and Prep
**Optimist You:** “Cleanse your brows and apply a barrier cream around them.”
**Grumpy You:** “Or just skip it and hope the tint doesn’t stick to your skin.”
– **Cleanse**: Use a gentle cleanser to remove any oils and dirt.
– **Barrier Cream**: Apply a thin layer of petroleum jelly around the brow area to prevent the tint from staining your skin.
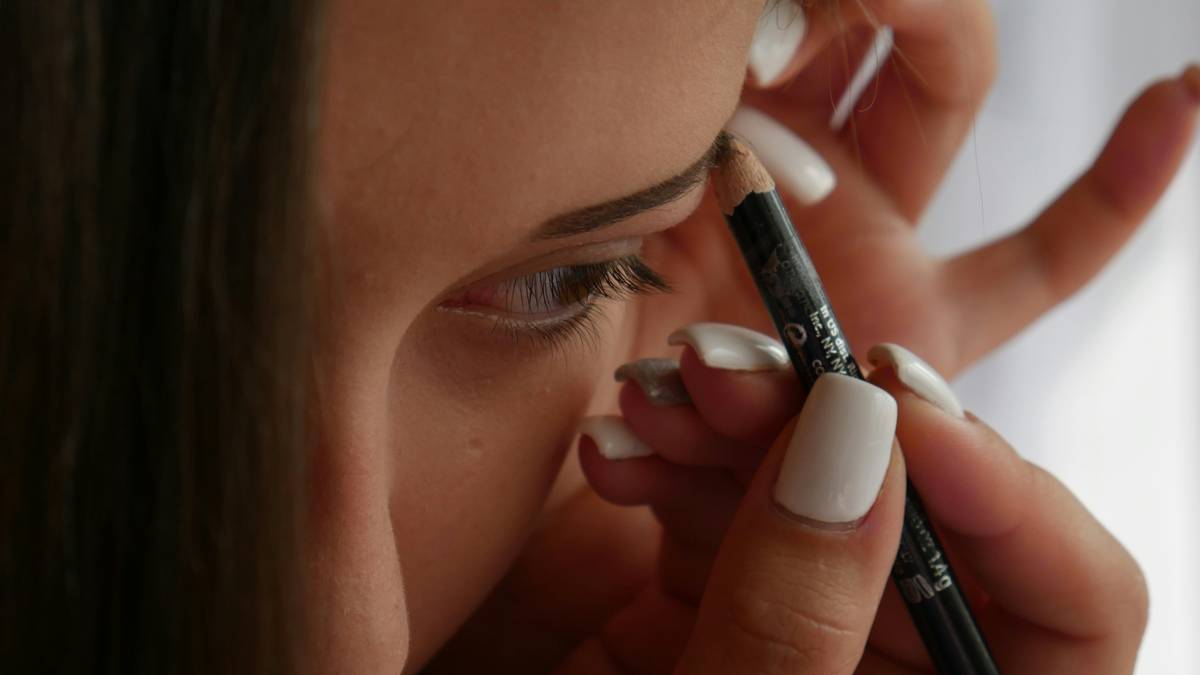
### Step 3: Mix and Apply the Tint
**Optimist You:** “Mix the tint and apply it evenly to your brows.”
**Grumpy You:** “Just don’t get it in your eyes, okay?”
– **Mix**: Follow the instructions to mix the tint and developer.
– **Apply**: Use a small brush to apply the tint to your brows, making sure to cover all the hairs.
### Step 4: Wait and Remove
**Optimist You:** “Wait for the specified time and then remove the tint.”
**Grumpy You:** “Try not to freak out if it looks too dark at first—it’ll lighten.”
– **Wait**: Let the tint sit for the recommended time (usually 5-10 minutes).
– **Remove**: Wipe off the excess tint with a damp cotton pad and rinse with water.
### Step 5: Maintain and Touch Up
**Optimist You:** “Keep your brows looking fresh with regular touch-ups.”
**Grumpy You:** “And by ‘regular,’ I mean whenever you manage to find the time.”
– **Touch-Ups**: Reapply the tint every 4-6 weeks to maintain the color.
– **Care**: Use a spoolie to comb through your brows and keep them tidy.
## Section 3: Tips and Best Practices for Perfect Brows
### 1. Patch Test
**Optimist You:** “Always do a patch test before applying the tint.”
**Grumpy You:** “Unless you’re feeling adventurous and want to risk an allergic reaction.”
– **Test**: Apply a small amount of the tint to a discreet area of your skin and wait 24 hours to check for any reactions.
### 2. Follow Instructions
**Optimist You:** “Read the instructions thoroughly before starting.”
**Grumpy You:** “Or, you know, just wing it and hope for the best.”
– **Instructions**: Follow the manufacturer’s guidelines for mixing and application times.
### 3. Customize Your Look
**Optimist You:** “Experiment with different shades and techniques.”
**Grumpy You:** “But don’t go overboard, or you’ll end up looking like a cartoon character.”
– **Shades**: Try different shades to find the one that best enhances your natural coloring.
– **Techniques**: Experiment with different application techniques to achieve the desired look.
### Terrible Tip (Disclaimer)
**Optimist You:** “Don’t follow this tip, but here it is anyway.”
**Grumpy You:** “Seriously, don’t do this unless you’re trying to embarrass yourself.”
– **Terrible Tip**: Apply the tint to your entire face to see if it works as a full-face mask. (Please, don’t.)
## Section 4: Real-World Examples and Success Stories
### Case Study 1: Sarah’s Transformation
**Before:**
**After:**
Sarah, a busy professional, struggled with sparse and uneven brows. After using a brow enhancement kit, she noticed a significant improvement in her appearance and confidence. “It’s amazing how something as simple as tinting can make such a big difference,” Sarah said.
### Case Study 2: John’s Journey
**Before:**
**After:**
John, a fitness enthusiast, wanted a bolder look for his brows. With the help of a brow enhancement kit, he achieved the perfect balance of definition and naturalness. “I feel more confident and put-together now,” John shared.
### What is a brow enhancement kit?
A brow enhancement kit is a set of tools and products designed to help you tint and shape your eyebrows, making them look fuller, more defined, and longer-lasting.
### How long does the tint last?
The tint typically lasts 4-6 weeks, depending on your skin type and how well you maintain your brows.
### Can I use a brow enhancement kit if I have sensitive skin?
Yes, but it’s important to do a patch test first to ensure you don’t have an allergic reaction to the ingredients.
### Is it painful to use a brow enhancement kit?
No, the process is generally painless. However, if you experience any discomfort, discontinue use and consult a dermatologist.
### Can I still use makeup on my brows after using a tint?
Absolutely! You can still use brow pencils, gels, and other products to enhance and define your brows further.
## Conclusion
Transforming your brows with a brow enhancement kit is a simple and effective way to boost your confidence and overall appearance. By following the steps outlined in this guide, you can achieve the perfect, long-lasting look. Remember to choose the right shade, clean and prep your eyebrows, mix and apply the tint carefully, and maintain the results with regular touch-ups. And, of course, don’t forget to do a patch test and follow the instructions to avoid any mishaps.
*Like a Tamagotchi, your brows need daily care.*